Put Your Logo on Your Silicone Products
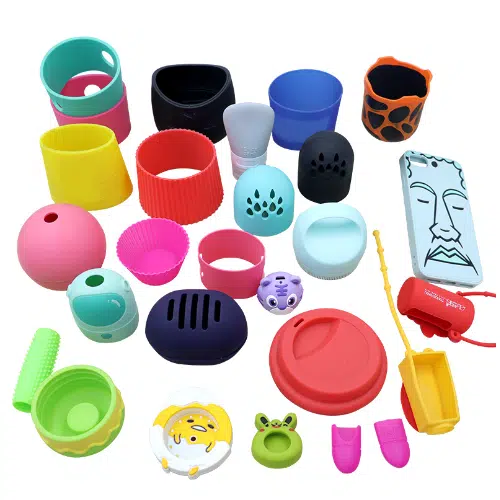
Z.S.R International Group(HONG KONG)CO., LIMITED helps companies create custom logo silicone products that make your brand stand out. Z.S.R custom Logo silicone products, promotional silicone merchandise, gift giveaways, and logo silicone items that you’ll love. We offer logo branding services to the Promotional and License industries. We work with the promotional, Marketing and Advertising, Licensor, Licensee, wholesale, retail chain, gifts store, and product development companies together offer molded logo silicone products to the whole world to expand your brands and Market.
In Z.S.R group, we offer more than 5 ways to put your logo and pattern on. The different logo and patterns may need different methods. Would You Like To Know The Difference Between Them? Please see the following sheet to get rough information for the different performance with the different printing ways.
| NO | LOGO FINAL PERFORMANCE | LOGO PROCESS | LOGO COLOR | ADVANTAGE | DISADVANTAGE | JIG OR PLATE | COST |
|---|---|---|---|---|---|---|---|
| 1 | Made the LOGO or Texture on the Silicone Tooling Directly | Same as Products | Can CNC Milling Embossed or Debossed Logo /Wear-resistant/No Secondary Processing/No other cost/ No ink used | Can Not Change When the tooling finished / Onlyl One Color Same as Products / No Colorful | / | / | |
| 2 | 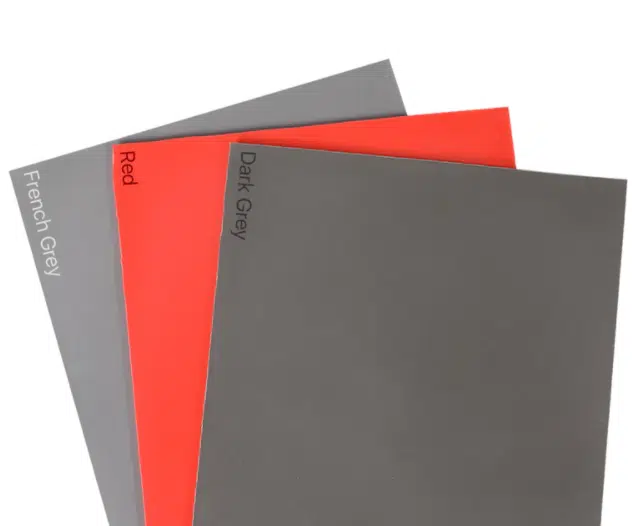
| Laser Engraving LOGO | Same as Products | Wear-resistant/ No ink used/ Can changed by the Laser Engraving design process | Only can make Debossed Logo / Onlyl One Color Same as Products / No Colorful | Jig | 0.05-0.5 |
| 3 | 
| Screen Printing LOGO | Limited in 3 solid colors | Wear-resistant/Can Change color and pattern by Mesh screen | Only can printed on the Flat Surface/ Can not make the multi-color, mixed color, fading, Camouflage, Carbon Fiber, Wood Grain colors | Screen Mesh and jig | 0.05-0.5 |
| 4 | | Pad Printing LOGO | Almost same as Screen Printing, But can Printed on the cambered surface | Wear-resistant/Can Change color and pattern by Steel plate | Can not make the multi-color, mixed color, fading, Camouflage, Carbon Fiber, Wood Grain colors | Plate and jig needed | 0.05-0.5 |
| 5 | 
| Heat Transfer Printing LOGO | No color limited | Can get multi-color, mixed color, fading, Camouflage, Carbon Fiber, Wood Grain colors/Can Change color and pattern by Film | Less Wear-resistant/ Film cost is higher/ Printed cost is higher | Film and jig needed | 0.5-1.59 |
| 6 | 
| Water Transfer Printing LOGO | No color limited | Can get colorful, Camouflage, Carbon Fiber, Wood Grain colors/Can Change color and pattern by Film | Less Wear-resistant/ Film cost is higher/ Printed cost is higher | Film and jig needed | 0.5-1.59 |
| 7 | 
| In-Mould Decoration LOGO | No color limited | Change color and pattern by Film | Less Wear-resistant/ Film cost is higher | Film | / |
| 8 | 
| Digital Printing LOGO | No color limited | Less Wear-resistant/Can Change color and pattern by Steel plate | Less Wear-resistant | NO | 0.3-0.9 |
1. Made the logo or texture on the silicone tooling directly
Debossed or embossed logo are engraved directly on tool molds during CNC mold-making process. They will not so obvious as other logo processing ways. The embossed logo is clear than debossed one. The advantage of this kind logo process is no extra cost, the cons are Logo cannot be changed once the tool mold is finished. And they mostly use for food touch products. Like spoons or teethers.
The steps for making the logo on the silicone tooling directly:

Silicone molding (molding) is a manufacturing technique used to transform uncured (unvulcanized) silicone rubber into a pre-defined shape. Several silicone molding techniques may be used, including compression, injection, and extrusion.

Extrusion Molding

Embossed logo
2. Laser Engraving LOGO and Pattern on your silicone products

Laser engraving is the practice of using lasers to engrave an object. Laser marking, on the other hand, is a broader category of methods to leave logo or patterns on an object, which in some cases, also includes color change due to chemical/molecular alteration, charring, foaming, melting, ablation, and more.
The Laser engraving logo does not involve the use of inks, nor does it involve tool bits which contact the engraving surface and wear out, giving it an advantage over alternative engraving or marking technologies where inks or bit heads have to be replaced regularly.
The laser marking is also used as a generic term covering a broad spectrum of surfacing techniques including printing, hot-branding and laser bonding. The machines for laser engraving and laser marking are the same, so that the two terms are sometimes confused by those without knowledge or experience in the practice.
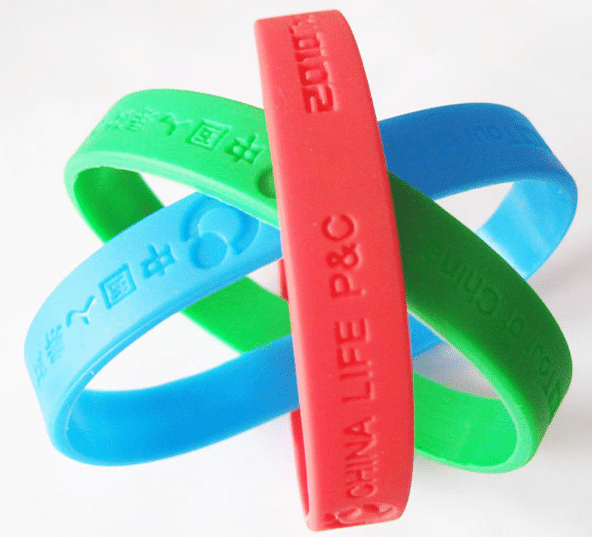
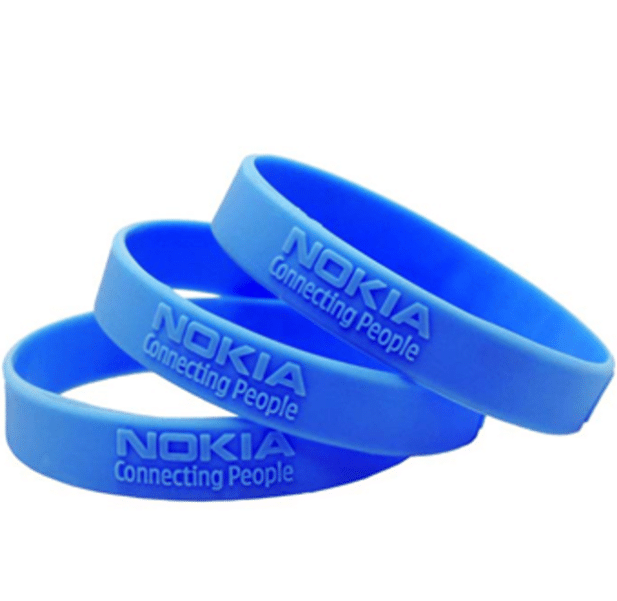
The logo or pattern what made by Laser Engraving was Debossed logo or pattern. You can laser Engraving your logo on your bracelet or any other silicone products.
The steps of Laser engraving logo or Pattern:
When the laser is finished engraving your design into the desired material, you can go ahead and remove the material from the machine. That’s all there is to it!
Final logo Performance
3. Printed your logo and pattern on your silicone products
Screen printing logo or pattern on the silicone products

Screen printing is a printing technique where a mesh is used to transfer ink (or dye) onto a substrate, except in areas made impermeable to the ink by a blocking stencil. A blade or squeegee is moved across the screen to fill the open mesh apertures with ink, and a reverse stroke then causes the screen to touch the substrate momentarily along a line of contact. This causes the ink to wet the substrate and be pulled out of the mesh apertures as the screen springs back after the blade has passed. One colour is printed at a time, so several screens can be used to produce a multi-coloured image or design.
Traditionally, silk was used in the process. Currently, synthetic threads are commonly used in the screen printing process. The most popular mesh in general use is made of polyester. There are special-use mesh materials of nylon and stainless steel available to the screen-printer. There are also different types of mesh size which will determine the outcome and look of the finished design on the material.
Screen printing is more versatile than traditional printing techniques. As a result, screen printing is used in many different industries, including:
Designs made using the screen printing technique may use just one shade of ink or several. In the case of multicoloured items, the colours must be applied in individual layers, using separate stencils for each ink. In the Screen printed. The color what your printed must be the solid color. Can not be fading or mixed.
The screen printing process step by step for logo or Pattern:
Pad printing logo or pattern on the silicone products

Pad printing (also called tomography) is a printing process that can transfer a 2-D image onto a 3-D object (e.g. ceramic pottery). This is accomplished using an indirect offset (gravure) printing process that involves an image being transferred from the cliché via a silicone pad onto a substrate. Pad printing is used for printing on otherwise difficult to print on products in many industries including medical, automotive, promotional, apparel, and electronic objects, as well as appliances, sports equipment and toys. It can also be used to deposit functional materials such as conductive inks, adhesives, dyes and lubricants.
Physical changes within the ink film both on the cliché and on the pad allow it to leave the etched image area in favor of adhering to the pad, and to subsequently release from the pad in favor of adhering to the substrate.
The unique properties of the silicone pad enable it to pick the image up from a flat plane and transfer it to a variety of surfaces, such as flat, cylindrical, spherical, compound angles, textures, concave, or convex surfaces.
The steps of Pad printing logo or Pattern on the silicone products
Heat transfer printing logo or pattern on the silicone products

Heat transfer, also known as thermal printing, thermal-transfer printing and thermal-wax transfer, is a method of printing that allows you to print a design onto a piece of clothing or an object. Heat transfer printing uses the process of heat to transfer an image created in wax to an object or garment. This printing method is compatible with pre-painted images on a wax sheet or can be used to create an image by layering wax dye onto an object.
Heat transfer can be the best method of printing in certain scenarios as it produces high-quality, photo-realistic and colourful images when executed correctly by a professional. Due to the realistic photographic images, heat transfer is a preferred method when transferring photo images onto a garment or an object such as shirts for hen and stag parties and novelty gifts. Heat transfer also works well if the image will be exposed to the elements frequently, as the design won’t be damaged or fade. It can also be an ideal printing method to use with objects including mugs as the wax image will not be washed off in the water. Heat transfer is also commonly used to print names or numbers onto sports kits.
The steps of Heat Transfer Printing logo or pattern on the silicone products
Sample
Water transfer printing logo or pattern on the silicone products

Water transfer printing, also known as immersion printing, water transfer imaging, hydro dipping, water marbling, cubic printing, Hydrographics, or HydroGraphics, is a method of applying printed designs to three-dimensional surfaces. It is a decorative coating technology.The resulting combinations may be considered decorative art or applied art. The hydrographic process can be used on metal, plastic, silicone, glass, hardwoods, and various other materials
There are wide ranges of water transfer printing films and the most popular patterns include camo, wood grain, carbon fiber, marble, and camo. The camo film is the most popular pattern and is also the common pattern for hydro-dipping guns.
The steps of Water transfer printing logo or pattern

Final logo Performance
In-Mould Decoration of your logo or pattern on the silicone products

The in-mold decoration is a modern technique for decorating silicone molded products with unique designs or colors.
In-mold decorating is used to mold high-precision silicone products with exceptional color and appearance. The process involves placing an appliqué – a pre-made form made from a printed sheet of plastic, which then is formed and cut to size – into an mold and molding behind and around the appliqué. It provides all the benefits of silicone molding with the added advantages of modern digital printing.
In-Mold Decorating provides Original Equipment Manufacturers (OEMs) and Molders an alternative method for decorating their silicone products. With IMD, graphics are printed on a film, using one, or a hybrid of several printing processes, which is then inserted into a mold cavity. A compatible resin is then injection molded behind or over the decorated appliqué film, permanently imbedding it into a molded part. The result is a highly durable, eye-catching products.
The Steps of in-mold decoration on the silicone products:
Sample:
Digital Printing your logo or pattern on the silicone products
Digital printing is a method of printing from a digital-based image directly to a variety of media. It usually refers to professional printing where small-run jobs from desktop publishing and other digital sources are printed using large-format and/or high-volume laser or inkjet printers.
Digital printing is the process of printing digital-based images directly onto a variety of media substrates. There is no need for a printing plate, unlike with offset printing. Digital files such as PDFs or desktop publishing files can be sent directly to the digital printing press to print on paper, photo paper, canvas, fabric, synthetics, card stock and other substrates.
The Steps of Digital Printing on the silicone products
Solid Silicone Products Quality Standards

Material Standard: FDA and LFGB
Size and Tolerances:+/- 0.15 mm Tolerances or according to the 2D drawing request
Surface and Color: Check the surface to see if there is any damage, lack of glue, deformation, different color… and other UN-quality, etc
Related Blog


Custom Solid Silicone Compression Molding Solutions For Your Business
In Z.S.R Group, we work with your timeline and budgets. Our cost-effective prototypes can be populated in small production runs that align with your schedule. We work closely to achieve high-quality custom silicone products for your company. Get in touch to learn more and order your custom silicone rubber products.